Constructing a Command-Line Interface Management System for an Auto Shop Using Go


The purpose of this article is to present a solution to a problem that was presented during a second-semester examination at AltSchool Africa. This problem required the development of a management system for an auto-mechanic manager who is responsible for tracking the products in stock, sold products, and quantities of each product sold in their store.
To address this challenge, we will demonstrate the implementation of various functionalities within the management system, including the ability to add items to the product inventory, verify the availability of a product, process sales of products, and view a list of sold products. These features will provide the manager with the tools necessary to effectively manage their store and keep track of their inventory and sales.
Pre-requisite
Before proceeding with this article, it is assumed that the reader has:
Go compiler installed on their local development machine
A basic understanding of Go programming concepts, including variables, data types, types, interfaces, functions, methods, maps, and packages.
A code editor, such as Visual Studio Code, is installed on their machine.
These prerequisites will be necessary to effectively follow along with and understand the content presented in this article.
Problem Statement
John has just opened up his car selling shop, to sell different cars. He gets the cars he needs to sell from different people and they all bring them to him.
He needs to manage the list of cars he has attached a price to them and put them on display to be sold John needs an inventory to manage cars & to manage sales. For instance,
He needs to see the number of cars that are left to be sold
He needs to see the sum of the prices of the cars left
He needs to see the number of cars he has sold
Total of the prices of cars he has sold
A list of orders for the sales he made
Using the knowledge of OOP in Go, Build simple classes for the following “objects”
Car
Product
Store
The Car class can have any car attributes you can think of.
The Product class should have attributes of a product i.e (the product, quantity of the product in stock, and price of the product). A car is a product of the store, but there can be other products so the attribute of the car can be promoted to the Product. The Product class should have methods to display a product, and a method to display the status of a product if it is still in stock or not.
The Store class should have attributes like
Number of products in the store that are still up for sale
Adding an Item to the store
Listing all product items in the store
Sell an item
Show a list of sold items and the total price
This is not a command line interface or web app, the idea is to see how you can think through the problem-solving process using all the knowledge we have gathered in all our lessons. It is a challenge to mainly see how you can think as a programmer. Your implementation will be reviewed line by line.
Navigating through the solution
Object-oriented programming (OOP) in Go differs from traditional OOP in languages such as Java and Python. In Go, custom types based on structs are used for aggregation and embedding of values together rather than classes, and the composition of types is used instead of inheritance. Polymorphism and abstraction are achieved through the use of interfaces.
You may be unfamiliar with the concepts of structs, methods, and interfaces. These terms are commonly used in the Go programming language and are essential to understanding the content presented in this article. To help clarify any confusion, a brief explanation of each term is provided below.
Structs - are used to store multiple values of different data types in a single collection. It's like a group of related information, like a person's name, age, and address.
Methods - are a special type of function that is designed to be called on values of a custom type. Methods are associated with a particular type, and they can only be called on values of that type. They are a useful way to encapsulate logic and behavior related to a specific type, and they can help to make your code more modular and reusable.
Interfaces - an interface is a custom type that outlines a set of methods that a type must have to implement the interface. These methods include the name, parameters, and return type of the function. If a type has all of the methods outlined in the interface, it is said to satisfy the interface. This means that values of that type can be used in places where the interface type is required. Interfaces in Go provide the ability to write flexible and generic code and are useful for constructing abstractions and developing dependable software systems.
Let's code
To get started, we need to navigate to the desired directory and run the command below in our terminal
mkdir auto-shop && cd auto-shop
This command creates a auto-shop folder and navigates into the project folder.
Next, we need to initialize a Go module to manage project dependencies by running the code below
go mod init auto-shop
This command will create a go.mod file for tracking project dependencies.
Modularization in Golang
It's a good practice to have a good project structure for our project. Good project structure implies how we work with dependencies in our project and also makes it easier for people to read and understand our codebase.
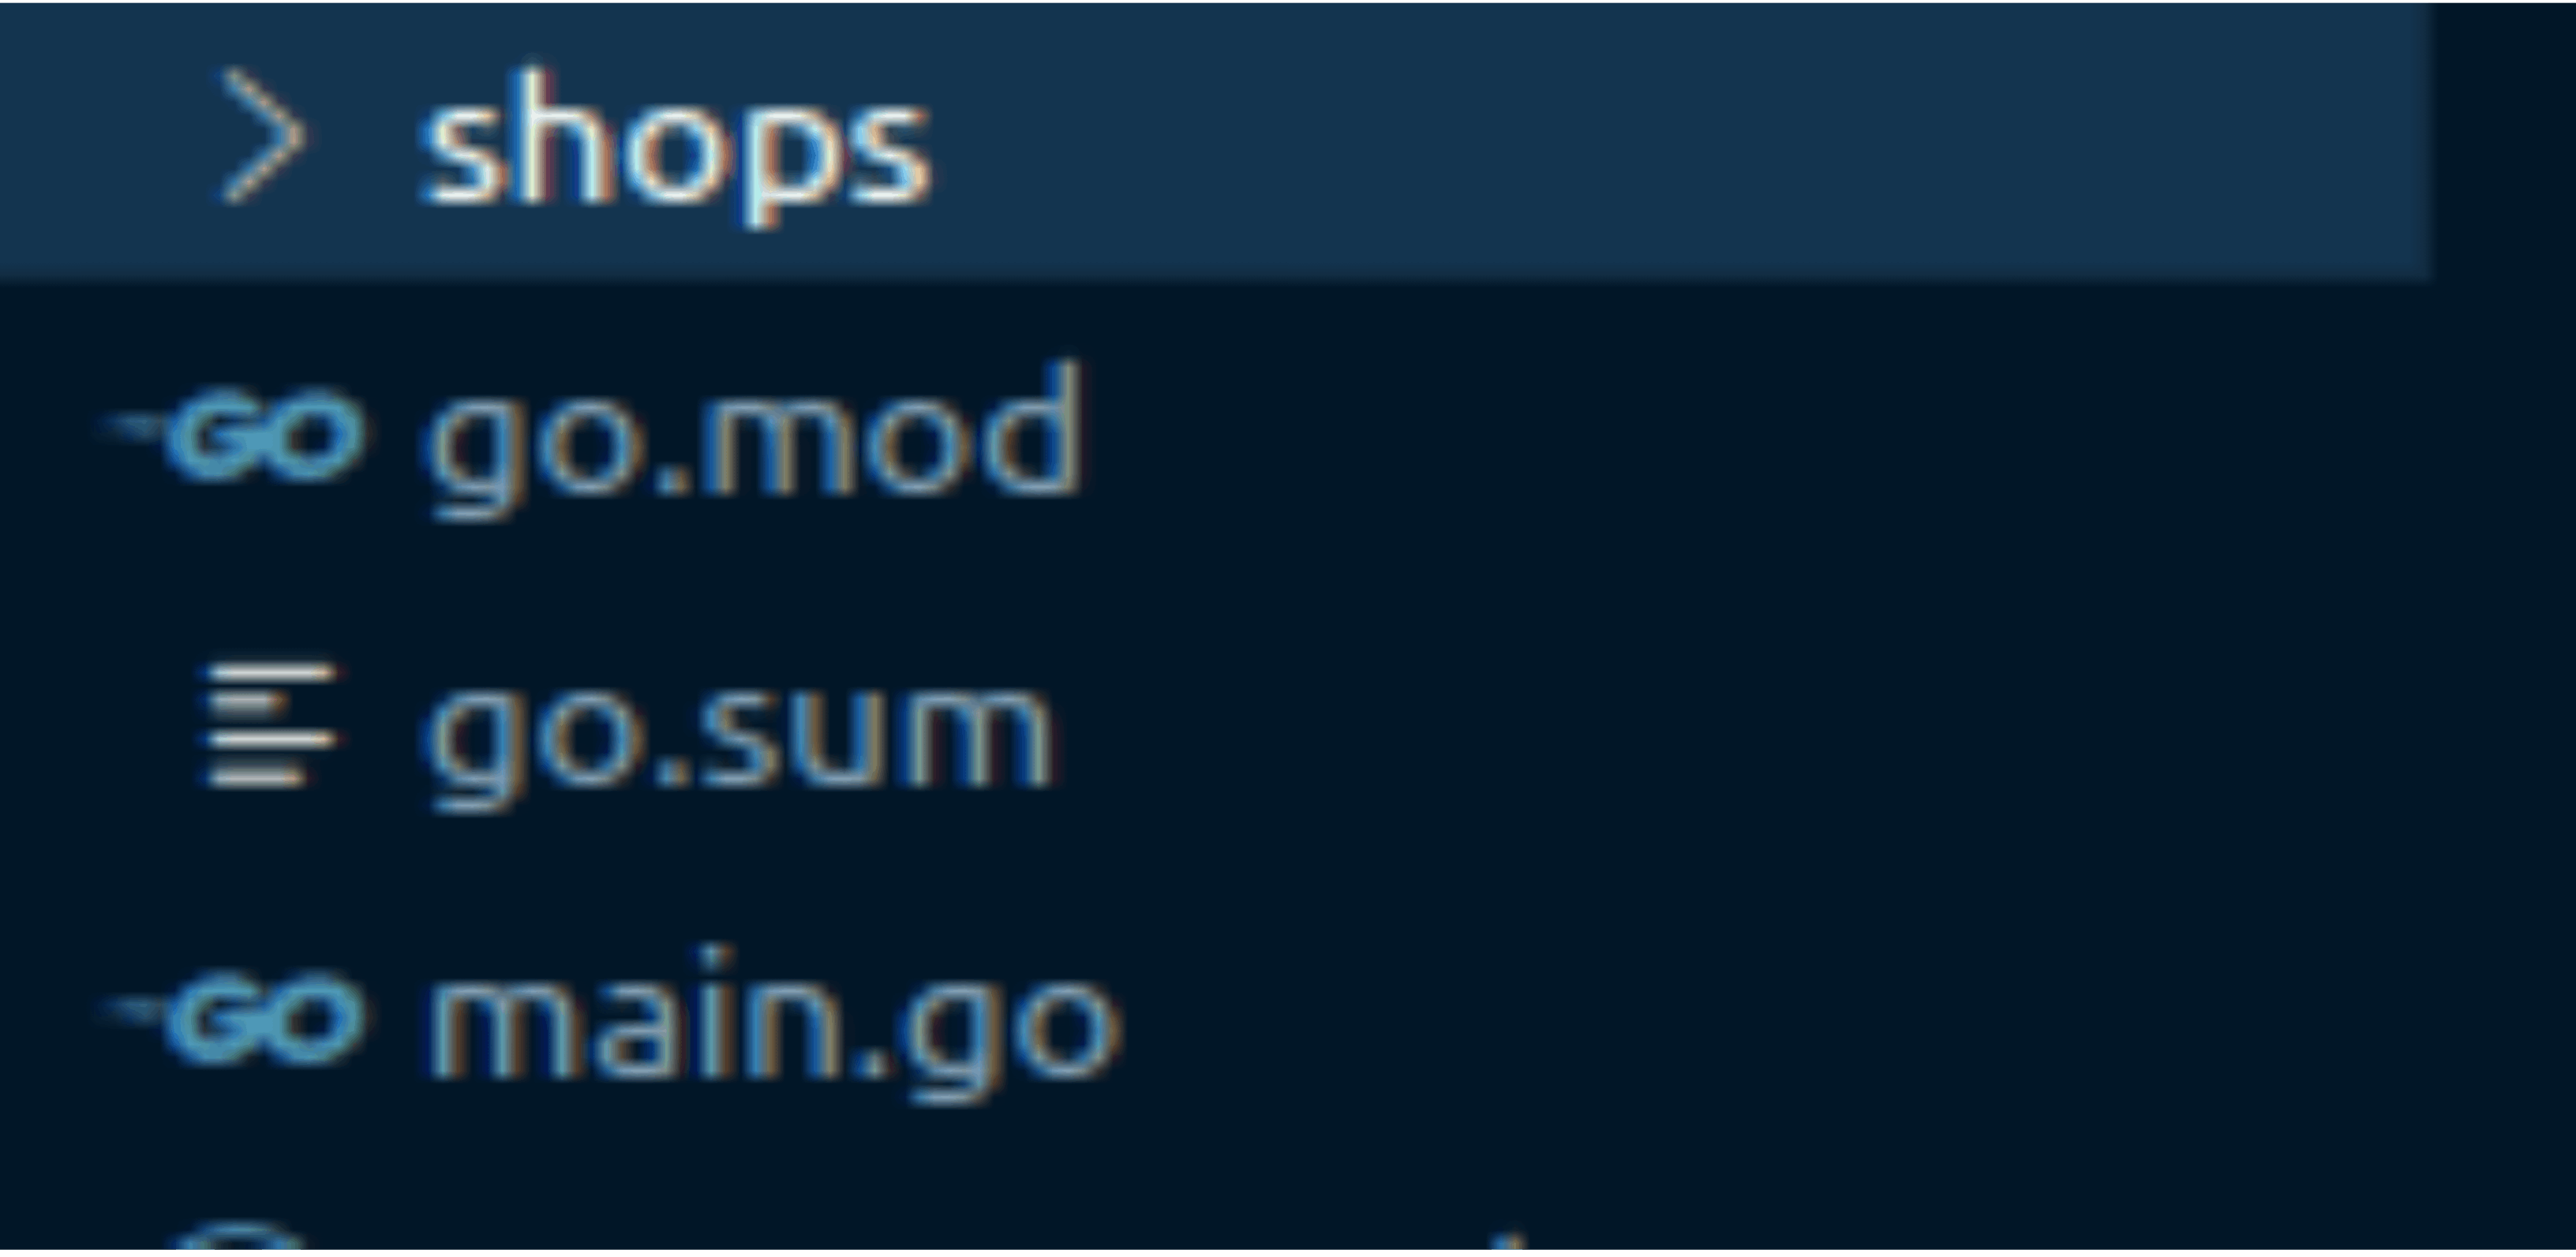
To do this, we need to create shops folder inside our project directory. Also in our project root directory, we need to create main.go file, this will serve as an entry point to our programs.
P.S: The go.sum file keeps track of the checksums for all of the dependencies and is handled by the go tools, so there's no need for concern.
The shops directory is a package within our project, and it's where we'll be placing the code for the program's functionality. Within the shops' package, we'll need to create four separate files: car.go, helper.go, product.go, and store.go .
Inside the helper.go file add the snippet below
package shops

import "github.com/google/uuid"

// Generate a new Id for each product in the store
func GenerateID() string {
    Id := uuid.New().String()
    return Id
}
The snippet above does the following:
Import the required dependencies
Create a
GenerateIDfunction that generates a new, unique hash string ID for each item or product in the store
Inside the product.go add the snippet below
package shops

// Product interface: any product that has all these methods implement this interface
type ProductItem interface {
    ProductGetter
    ProductSetter
    DisplayProduct() any
    DisplayProductStatus()
}

// Get the value of the Product Field
type ProductGetter interface {
    GetName() string
    GetID() string
    GetQuantity() int
    GetPrice() float64
    GetBrand() string
    GetModel() string
    GetColor() string
    GetYearOfManufacture() int
}

// To set value for the Product fields
type ProductSetter interface {
    SetQuantity(int)
}
Product.go has three interfaces:
The
ProductSetterinterface provides methods that allow the values of any type that implements this interface to be changed.The
ProductGetterinterface includes methods for retrieving the values of the fields of the type that implement this interface.The
ProductIteminterface combines theProductSetterandProductGetterinterfaces, as well as an additional two methods to display products in a readable format.
Inside the car.go file add the snippet below
package shops

import (
    "fmt"
)

// A Car is a type of product because it satisfied the Product interface
type Car struct {
    ID                string  `json:"id"`
    Brand             string  `json:"brand"`
    Model             string  `json:"model"`
    Quantity          int     `json:"quantity"`
    Price             float64 `json:"price"`
    Color             string  `json:"color"`
    YearOfManufacture int     `json:"yearOfManufacture"`
}

// Initialize a new Car
func NewCar(brand, model, color string, price float64, quantity, year int) *Car {
    return &Car{
        ID:                GenerateID(),
        Brand:             brand,
        Model:             model,
        Quantity:          quantity,
        Price:             price,
        Color:             color,
        YearOfManufacture: year,
    }
}

// Returns car name
func (c *Car) GetName() string {
    return c.Brand + " " + c.Model
}

// Returns car Id
func (c *Car) GetID() string {
    return c.ID
}

// Returns car quantity
func (c *Car) GetQuantity() int {
    return c.Quantity
}

// Modifies car quantity
func (c *Car) SetQuantity(q int) {
    c.Quantity = q
}

// Returns car price
func (c *Car) GetPrice() float64 {
    return c.Price
}

// Returns car brand
func (c *Car) GetBrand() string {
    return c.Brand
}

// Returns car model
func (c *Car) GetModel() string {
    return c.Model
}

// Returns car color
func (c *Car) GetColor() string {
    return c.Color
}

// Returns car year of manufacture
func (c *Car) GetYearOfManufacture() int {
    return c.YearOfManufacture
}

// Return a compact struct of car
func (c *Car) DisplayProduct() any {
    v := &Car{
        ID:                c.GetID(),
        Quantity:          c.GetQuantity(),
        Brand:             c.GetBrand(),
        Model:             c.GetModel(),
        Price:             c.GetPrice(),
        Color:             c.GetColor(),
        YearOfManufacture: c.GetYearOfManufacture(),
    }
    return v
}

// Displays the status of car: in stock or out of stock
func (c *Car) DisplayProductStatus() {
    if c.GetQuantity() > 0 {
        fmt.Println("Product In stock")
    }
    fmt.Println("Product out of stock")
}
The snippet above does the following:
Import the required dependencies
We create a struct named Car, which includes the necessary fields and uses appropriate data types.
The
NewCarfunction aids in the creation and initialization of a new variable of the Car type, similar to how a constructor works in other programming languages.The
Carstruct has several methods defined on it to make sure it satisfies the requirements of the ProductItem interface. This means that the Car struct has all the necessary functionality and properties as specified in the ProductItem interface.
Inside store.go add the snippet below
package shops

import (
    "encoding/json"
    "fmt"
    "log"
)

// store struct
type Store struct {
    Instock  map[string]ProductItem
    OutStock map[string]ProductItem
}

// Initialiazing a new store
func NewStore() *Store {
    return &Store{
        Instock:  make(map[string]ProductItem),
        OutStock: make(map[string]ProductItem),
    }
}

// List products with quantity greater than zero
func (s *Store) ListAvailableProducts() {
    fmt.Println("All Available Products for sales")
    var allProduct []string
    for _, item := range s.Instock {
        if item.GetQuantity() > 0 {
            jsonResp, err := json.MarshalIndent(item.DisplayProduct(), "", "\t")
            if err != nil {
                log.Fatalln(err)
            }
            allProduct = append(allProduct, string(jsonResp))
        }
    }
    fmt.Println(allProduct)

}

// List sold products
func (s *Store) ListSoldProduct() {
    fmt.Println("List of all sold Item")
    var allSoldProduct []any
    total_price := 0.0
    for _, item := range s.OutStock {
        total_price += item.GetPrice() * float64(item.GetQuantity())
        jsonResp, err := json.MarshalIndent(item.DisplayProduct(), "", "\t")
        if err != nil {
            log.Fatalln(err)
        }
        allSoldProduct = append(allSoldProduct, string(jsonResp))
    }
    fmt.Println(allSoldProduct)
    fmt.Println("Total sale", total_price)
}

// Adds product to the store
func (s *Store) AddProduct(c ProductItem) {
    id := c.GetID()
    if _, ok := s.Instock[id]; !ok {
        s.Instock[id] = c
    }
}

// Sells product if available in the store base on the quantity specified
func (s *Store) SellProduct(c ProductItem, quantity int) {
    id := c.GetID()

    availQuantity := c.GetQuantity()
    if quantity > 0 && availQuantity > 0 {
        if item, ok := s.Instock[id]; ok {
            if availQuantity >= quantity {
                nQ := availQuantity - quantity
                if nQ == 0 {
                    item.SetQuantity(0)
                    s.Instock[id] = item

                } else {
                    item.SetQuantity(nQ)
                    s.Instock[id] = item
                }
            } else {
                fmt.Println("Available quantity not up the quantity demanded: ", quantity)
                return
            }
        } else {
            fmt.Println("Product Id not found !!!")
            return
        }
    } else {
        fmt.Println("Not enought quantity for sale")
        return
    }
    for k, v := range s.Instock {
        s.OutStock[k] = v
    }
    s.OutStock[id].SetQuantity(quantity)

}
The snippet above does the following:
Import the required dependencies
The
Storestruct, is a type that is used to keep track of the products that are available to sell, referred to as "InStock" fields, as well as the products that are currently out of stock, referred to as "OutStock" fields. This helps the store manage and organize the products that are available for purchase.The
NewStorefunction aids in the creation and initialization of a new variable of the Store type.The
Storestructure has two fields calledInStockandOutStockwhich are both maps. A map is a type of data structure that allows you to store and organize items in a specific way. Each item in the map is associated with a unique key which in this case is a string, and the value associated with that key is an object that satisfies theProductIteminterface.The
ProductIteminterface is essentially a set of rules or guidelines that an object must follow in order to be considered a valid value for the map. The idea behind this is that theInStockandOutStockmaps can accept any type of object as a value, as long as it follows the rules specified in theProductIteminterface.This allows the
Storestructure to be very flexible, as it can accept many different types of objects as values in theInStockandOutStockfields, as long as they meet the requirements set forth by theProductIteminterface.The Store has four methods declared on it, namely:
ListAvailableProducts,ListSoldProduct,AddProductandSellProduct.The
ListAvailableProductsmethod iterates over theInStockfield of theStorestruct and prints out products with a quantity greater than zero; this is because products with a quantity greater than zero are considered to be available for purchase.The
ListSoldProductmethod iterates over theOutStockfield of theStorestruct, printing out information about products that have been sold, including the price of each item and the total revenue generated by all sold products.The
AddProductmethod accepts a product of any type that satisfies theProductIteminterface and add it to theInStockfield of the Store struct.The
SellProductmethod takes in any object that satisfies theProductIteminterface and a quantity to sell. It first verifies that the requested product is available by looking up its ID in theInStockfield of theStorestruct. Then, it checks if the requested quantity is greater than zero, and if the available quantity is sufficient to fulfill the sale. If these conditions are met, the product is sold and the quantity is removed from theInStockfield and added to theOutStockfield of theStorestruct, updating the available quantity of that product.
Next step is to update our main.go file, which is where all the functionalities we have previously programmed will be executed.
Inside main.go add the snippet below
package main

import (
    "fmt"

    "github.com/meshachdamilare/auto-shop/shops"
)

func main() {
    car1 := shops.NewCar("Mercedes", "GLK", "red", 50000, 2, 2020)
    car2 := shops.NewCar("Toyota", "Camry", "blue", 3000, 7, 3018)
    car3 := shops.NewCar("Lexus", "VLC", "blue", 3000, 6, 3018)

    // instantiate a new store
    store := shops.NewStore()

    //  adding item
    store.AddProduct(car1)
    store.AddProduct(car2)
    store.AddProduct(car3)

    // listing all available products in the store
    store.ListAvailableProducts()
    fmt.Println()

    // sell item
    store.SellProduct(car1, 1)
    store.SellProduct(car2, 4)
    store.SellProduct(car3, 5)

    // list all sold item
    store.ListSoldProduct()
    fmt.Println()

    // listing all available products in the store
    store.ListAvailableProducts()
    fmt.Println()

}
Here, we utilize all the types, functions, and methods that we have previously defined and implemented. We call these elements in the main.go file and run the code. This file acts as the entry point for the program, where all the logic and functionality are brought together, and the program is executed. Here, we are able to test and see the results of the functionalities we have written, by running the program and calling the types, functions, and methods implemented earlier.
In conclusion, throughout this article, I hope you have developed a greater understanding of problem-solving techniques, the concepts of object-oriented programming in Go, types, structs, how types and structs can be composed and utilized together, as well as the significance of interfaces in this process.
A demonstration of these functionalities has been made available on my Github repository for testing purposes.
Thanks for reading. Please share your thoughts and feedback in the comments section, along with any emoji reactions you may have.
I would like to acknowledge AltSchool Africa for providing me with this problem as part of the second semester exams.